MIDI Isn't Just for Keyboard Players
MIDI on a pedalboard sounds intimidating until you understand what it actually does: it sends simple messages that tell your pedals what to do. That's it. A MIDI Program Change message says "switch to preset 47." A MIDI Control Change message says "turn this parameter to this value." It's not rocket science — it's a remote control for your gear.
The reason MIDI matters on a pedalboard is tap dancing. If you've ever played a gig where you had to stomp on three pedals simultaneously to go from your clean tone to your lead tone — and missed one — you know the problem. MIDI lets you hit one button and have every pedal on your board switch to exactly the right preset at exactly the same time. One stomp, done.
I've built MIDI-controlled rigs for touring artists who need to recall 80+ tones per set and for home players who just want four sounds they can switch between cleanly. The complexity scales to your needs. But the core concept is the same whether you have three MIDI pedals or fifteen.
What You Need: The Core Components
A MIDI pedalboard setup has three main components:
1. MIDI Controller
This is the brain — the foot controller that sends MIDI messages to everything else. Your main options:
- Morningstar MC6 / MC8: The gold standard for guitarist-focused MIDI controllers. Small footprint, incredibly deep programming capabilities, and the community support is outstanding. The MC6 gives you 6 switches in a compact enclosure. The MC8 gives you 8 switches plus expression input. I put Morningstars on more rigs than anything else.
- RJM Mastermind PBC/6X: The PBC (Pedalboard Controller) is a combined MIDI controller and audio loop switcher in one unit. If you want MIDI control and true-bypass audio switching without separate units, RJM is the way to go. Expensive, but the integration is seamless.
- Boss ES-5 / ES-8: Boss's loop switchers with built-in MIDI output. The ES-8 gives you 8 audio loops plus MIDI, the ES-5 gives you 5 loops in a smaller footprint. Solid, reliable, very Boss — meaning it just works but the programming interface is menu-divey.
2. MIDI-Compatible Pedals
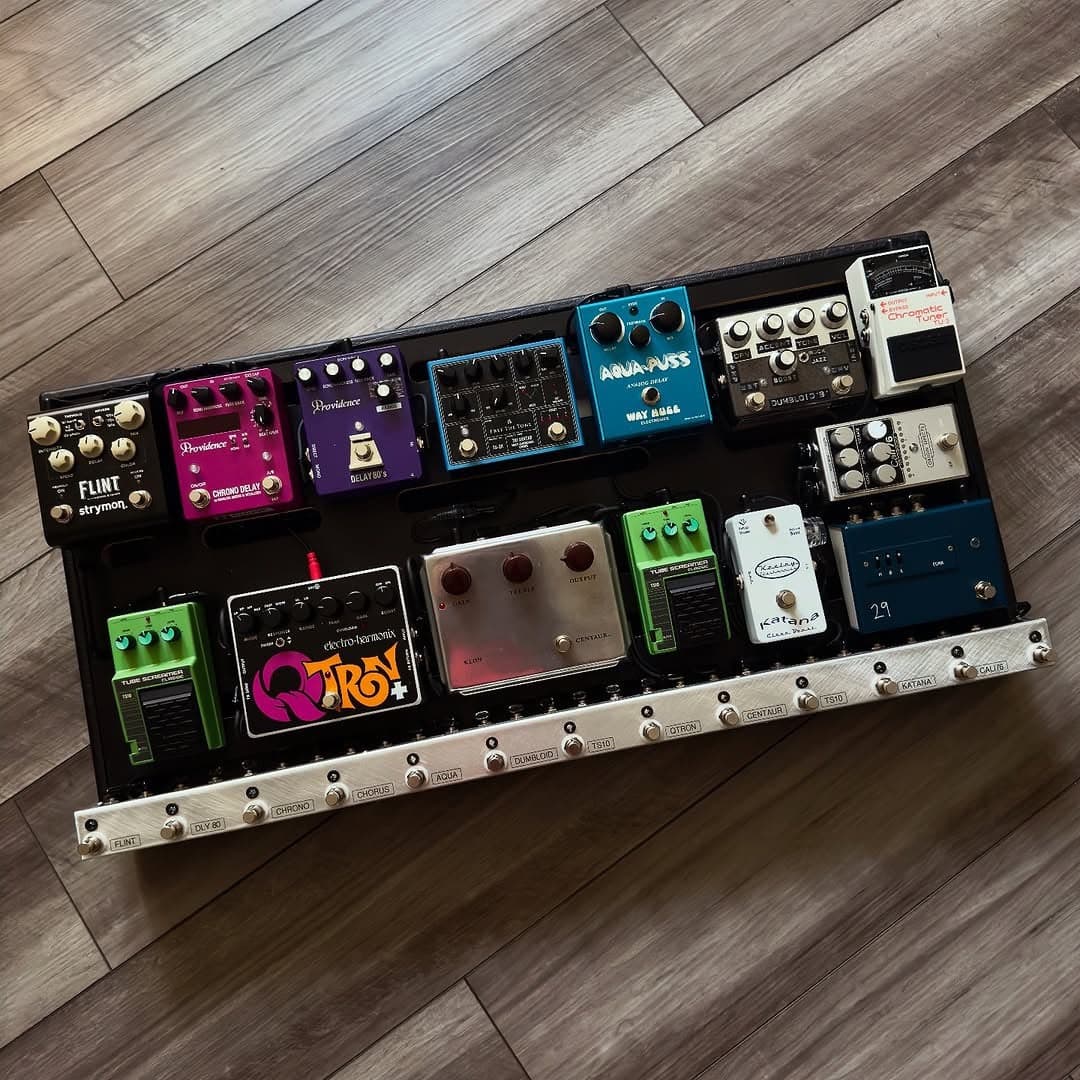
Not every pedal speaks MIDI. You need pedals with a MIDI input — either a 5-pin DIN connector or a 3.5mm TRS jack (the newer standard). Pedals from Strymon, Boss (500 series), Source Audio, Empress, Meris, Chase Bliss, and many others accept MIDI. Each pedal needs to be set to its own MIDI channel (1-16) so the controller can talk to them individually.
3. MIDI Cables
Traditional 5-pin DIN cables or 3.5mm TRS cables, depending on your gear. Many modern pedals use the smaller TRS standard, and you can get DIN-to-TRS adapters. Cable runs should be as short as practical — MIDI is a serial protocol and long runs can cause timing issues, though in practice anything under 50 feet is fine for a pedalboard.
MIDI Messages Explained (Without the Nerd Speak)
You only need to understand two types of MIDI messages for pedalboard use:
Program Change (PC): "Switch to this preset." You send PC #3 on Channel 1 to your Strymon Timeline, and it loads preset 3. You send PC #12 on Channel 2 to your BigSky, and it loads preset 12. Each pedal listens on its own channel and responds to the PC number by loading the corresponding preset. Most MIDI-capable pedals store 100+ presets.
Control Change (CC): "Set this parameter to this value." CC messages are more granular — they can turn a pedal on/off, set a specific knob position, tap a tempo, toggle a function. For example, CC #102 with a value of 127 on Channel 1 might engage the Timeline, while CC #102 with value 0 bypasses it. CC #93 with value 64 might set the mix knob to 50%. The specific CC numbers and their functions vary by pedal manufacturer — you'll need to check each pedal's MIDI implementation chart.
A typical preset on your MIDI controller sends a batch of messages all at once: PC #5 on Ch 1 (Timeline loads a dotted-eighth delay), PC #22 on Ch 2 (BigSky loads a plate reverb), CC #102 value 127 on Ch 3 (Mobius chorus engaged), CC #102 value 0 on Ch 4 (Empress Tremolo bypassed). One stomp, four pedals do exactly what you need.
Setting Up Your First MIDI Rig: Step by Step
Let's walk through a practical setup with a Morningstar MC6 controlling a Strymon Timeline, BigSky, and Boss MD-500:
Step 1: Assign MIDI channels. On the Timeline, go to the MIDI settings and set it to Channel 1. BigSky gets Channel 2. MD-500 gets Channel 3. Every pedal must be on a unique channel.
Step 2: Connect the MIDI chain. MIDI Out from the MC6 goes to MIDI In on the first pedal. MIDI Thru (or MIDI Out, if the pedal has one) on that pedal goes to MIDI In on the next pedal. Daisy-chain them all. If you have more than 4-5 pedals in a MIDI chain, consider a MIDI thru box (like the MIDI Solutions Quadra Thru) to avoid signal degradation.
Step 3: Program presets on each pedal. Before you touch the MIDI controller, set up your sounds on each pedal and save them to preset slots. Timeline preset 1 = your main delay. Timeline preset 2 = your slapback. BigSky preset 1 = your ambient wash. Etc. Write it down. You'll need to know which preset number corresponds to which sound.
Step 4: Program the MC6. Using the Morningstar editor (web-based, beautifully designed), program each switch on the MC6. Switch A = your clean tone. In the editor, add messages to Switch A: PC #0 Ch 1 (Timeline to preset 0 — off), PC #0 Ch 2 (BigSky to a subtle room reverb), CC #102 value 0 Ch 3 (MD-500 bypassed). Switch B = your rhythm tone. Different PC and CC messages. And so on.
Step 5: Test everything. Step on each switch and verify every pedal responds correctly. If a pedal doesn't respond, check the MIDI channel assignment, check the cable, and make sure the pedal's MIDI implementation actually supports the message type you're sending.
MIDI + Audio Loop Switching: The Pro Setup
Here's where things get powerful. A MIDI controller can control your MIDI pedals, but what about your non-MIDI pedals? That $300 Analogman King of Tone doesn't have MIDI. Neither does your vintage MXR Phase 90 or your Fulltone OCD.
The answer is an audio loop switcher — a device like the Boss ES-8, RJM PBC, GigRig G3, or even the simpler Joyo PXL series. These put each non-MIDI pedal in its own audio loop that can be switched on and off via MIDI (or built-in presets). So your MIDI controller sends a message to the loop switcher saying "engage loops 1, 3, and 5" — and suddenly your King of Tone, Phase 90, and delay are all on, while everything else is bypassed.
This is the setup we build most often at The Rig Doctor. A Morningstar MC6 or MC8 controlling a mix of MIDI pedals directly and non-MIDI pedals through a loop switcher. It gives you total control of your entire board — MIDI and non-MIDI — from one foot controller. One stomp, every pedal on the board does exactly what you need.
The wiring gets complex — you've got MIDI cables, audio send/return cables for each loop, power for everything, and it all needs to be routed cleanly. This is honestly the biggest reason players come to us for custom builds. The physical layout and cable management of a MIDI rig is a puzzle, and getting it wrong means noise, ground loops, and cables that pull loose.
Expression Pedals and MIDI: Real-Time Control
MIDI isn't just about preset recall — it's also about real-time control via expression pedals. Most MIDI controllers have expression pedal inputs that convert the sweep of an expression pedal into continuous CC messages. This means you can use one expression pedal to control any parameter on any MIDI pedal on your board.
Want your expression pedal to control the mix on your reverb? Map it to the reverb's mix CC. Want the same expression pedal to simultaneously control the feedback on your delay and the rate on your chorus? Map it to multiple CCs on multiple channels. The Morningstar controllers make this incredibly easy — you can have different expression mappings per preset, so your expression pedal does different things depending on which sound you're on.
This is the kind of thing that sounds complicated on paper but feels completely natural once it's set up. You just move your foot and the sound morphs exactly the way you want. No tap dancing, no reaching down to twist knobs, no breaking the flow of the performance.
Common MIDI Pitfalls (And How to Avoid Them)
After wiring up hundreds of MIDI rigs, here are the mistakes I see most often:
- Duplicate MIDI channels: Two pedals on the same channel means both respond to every message. Always double-check that each pedal has a unique channel.
- Wrong cable type: Some pedals use "Type A" TRS MIDI wiring, others use "Type B." They're not compatible without an adapter. Strymon, Boss, and Empress use Type A. Make and Chase Bliss use Type B. Check before you buy cables.
- Not saving presets properly: You program a great sound on your delay, set up the MIDI, test it, it works. Then the next day it's gone because you forgot to save the preset on the pedal itself. Always save twice — once on the pedal, once in the MIDI controller.
- MIDI timing issues: If you notice that one pedal switches slightly later than the others, it might be at the end of a long MIDI chain. A MIDI thru box or using the controller's multiple MIDI outputs (if it has them) can solve this.
- Over-engineering: Not every rig needs MIDI. If you have 5 pedals and you only switch between clean and dirty, a simple true-bypass loop switcher without MIDI is simpler and cheaper. MIDI shines when you need 4+ distinct tones with multiple pedal changes per song.
Is MIDI Right for Your Rig?
MIDI makes sense if you hit more than two pedals between songs (or within songs), if you play sets with a lot of tonal variety, or if you're tired of tap dancing and occasionally missing a stomp. It doesn't make sense if you turn on your drive pedal at the start of the set and leave it on all night.
If you're curious but not sure where to start, a Tone Tutoring session is a great way to figure out whether MIDI is right for your rig and, if so, what components you'd need. We'll look at your current setup, talk about what you're trying to achieve, and map out a plan — no pressure, no upsell, just honest advice from someone who's built this stuff for 17 years.
And if you already know you want a MIDI rig and you don't want to spend three weekends wiring it yourself, that's what we do. We'll build it, program it, test it, and hand it to you ready to gig.